A highly targeted phishing campaign has been hitting hotel guests across Luxembourg. Originally flagged by the Computer Incident Response Center Luxembourg (CIRCL), this campaign stands out not because of advanced malware, but because of its impeccable contextual credibility . Threat actors aren't guessing targets; they are hitting actual hotel guests on WhatsApp with exact, legitimate booking details to steal credit card data. As part of a technical review into the infrastructure, we analyzed a recent Indicator of Compromise (IoC) linked to this campaign: [https://stay-hotel607923.com](https://stay-hotel607923.com) . Here is the deep dive into how this attack works, the infrastructure behind it, and how to track it. The Attack Workflow: Smishing with Context Most phishing campaigns rely on volume, hoping a small fraction of a massive email list bites. This campaign relies on precision. The Data Exposure: CIRCL assesses that the campaign's source data may originate from servi...
Spoiler — It’s cheaper than buying one
I was looking to buy a write blocker to do data recovery/forensics tasks but I quickly noticed that I was window shopping write blockers due to their cost.
Some starting at £300, others that cost less were no longer being built or sold, maybe you could find a 2nd hand one with or without the wires.
Most of these write blockers were industry standard, used by law enforcement but was it necessary for me to buy such an expensive write blocker….or is it possible to build my own…..
So the research began, reading through articles, publications, and so on, and with the information gained, I felt that I could build my own write blocker. So what do I need:
- A Raspberry Pi
- A Linux distro.
- HDD/SSD to test the write blocker
- And to put the information I gained into practice
Building the write blocker
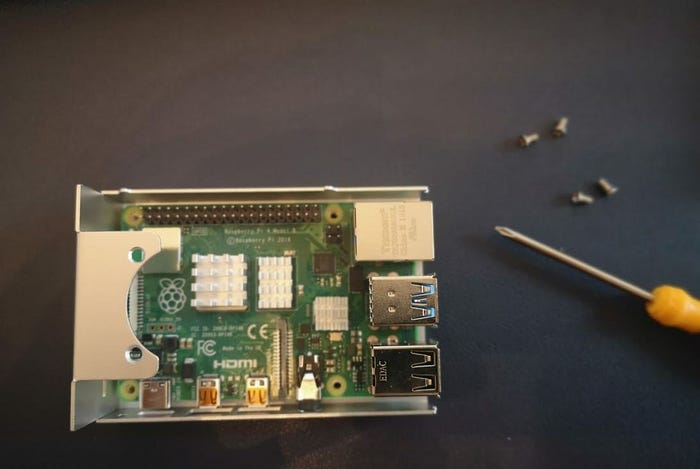
So, I brought a Raspberry Pi 4 Model B that came with a power supply, HDMI cables, 32GB SD card, a case, and some extras. (https://www.okdo.com/c/pi-shop/)
What I do like about the package I bought, is it comes with heat sinks, so if we are to transfer data from a HDD, that could take a while. And while performing a lengthy task, we don’t have to worry about the heat generated from the PI with the heat sinks. Maintaining your equipment will have positive effects all around…Oh and it comes with a fan :)
Next, was to install a Linux distro. for the RaspberryPI and the distro. I am going to use is Kali Linux. Kali, I felt will be best suited for my needs to do data recovery, forensics, and much more with everything they provide and they have their own ARM image which is what we need for the PI— https://www.offensive-security.com/kali-linux-arm-images/
So they are ticking all the boxes, plus their continued development and support mean further enhancements.
The image I will be using Kali Linux RaspberryPi 2 (v1.2), 3, 4 and 400 (64-Bit) (img.xz)
With the image downloaded, we just need to flash it to our SD card using balenaEtcher (https://www.balena.io/etcher/) which is an amazing and simple tool to use.
Once flashed, we can now set up the Raspberry PI, insert the SD card, and boot up!

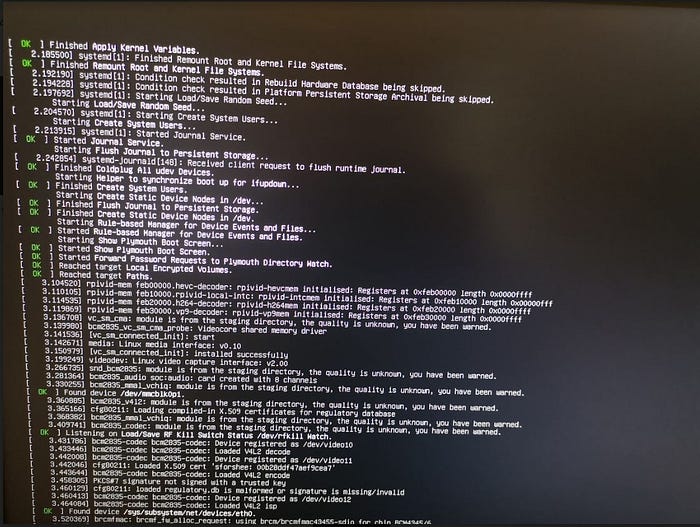
Once I logged in, then I went through setting up Kali process which consists of changing the default password, removing the ssh key, setting up new users, and updating….all the fun stuff.
Now that I’ve finished setting up my Kali Linux, it’s time to configure the write-blocker config.
Write-block
I am using the following project: https://github.com/msuhanov/Linux-write-blocker
In short, the project owner has built this project to “enable Linux software write blocking” which has they stated is “Useful for computer forensics, incident response, and data recovery”.
We need to copy the rules script (https://github.com/msuhanov/Linux-write-blocker/tree/master/userspace/udev) to /etc/udev/rules.d and the tools folder (https://github.com/msuhanov/Linux-write-blocker/tree/master/userspace/tools) to /usr/sbin, and then reboot. (Simple enough….). Once rebooted we then run: “blockdev — setro /dev/sdb” (sdb being the device to write block).
After that, I plugged in a USB drive with a single text document to see if I could make changes:

That’s a positive step in the right direction, but we will need to run some more tests. Next, I will take a md5sum of the drive, then do a bit copy of the drive, do another md5sum of the copy and compare the hashes.
First hash — sudo md5sum /dev/sda > sda.md5 = e0e47e5a2f12173991f52c8ae9d532d2
Copy of the usb — sudo dd if=/dev/sda of=sda-copy.dd conv=noerror,sync bs=4096
Second hash = sudo md5sum sda-copy.dd > sda-copy.md5 =e0e47e5a2f12173991f52c8ae9d532d2
So that’s another positive, I can do a bit copy of the USB and we can verify that no changes have been made through the MD5 hashes being the same.
Conclusion
Although more thorough testing needs to be done, I’m happy that I’m heading in a positive direction of being able to build my own write blocker for less than £100!
Comments
Post a Comment